
How to Fix a Leaking Roof
Roof leaks are a common issue that many homeowners face. If the damage is not extensive, you may be able to take matters into your own hands and try a do-it-yourself repair instead of hiring a professional roofer. Here, we have outlined the exact steps on how to detect leaks, how to attempt simple roof repairs using a step-by-step guide, and the approximate cost of roof repairs. However you should always consider calling an expert roof repair company like Luck Roofing LLC who offers a free inspection and advice
Detecting a Roof Leak
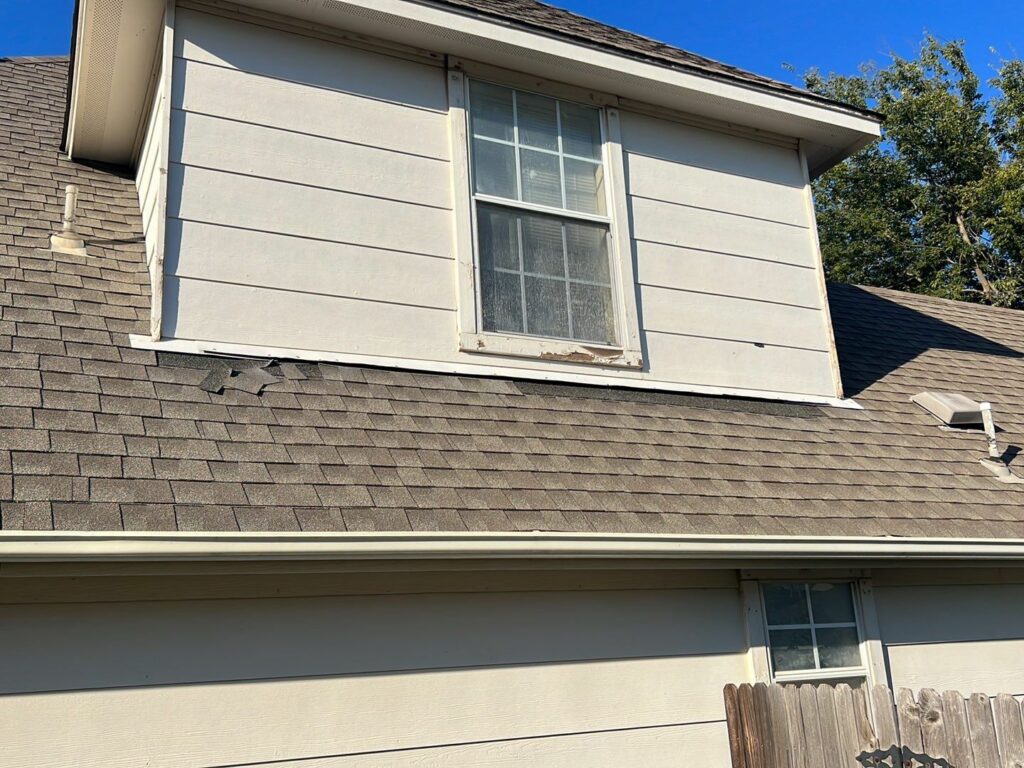
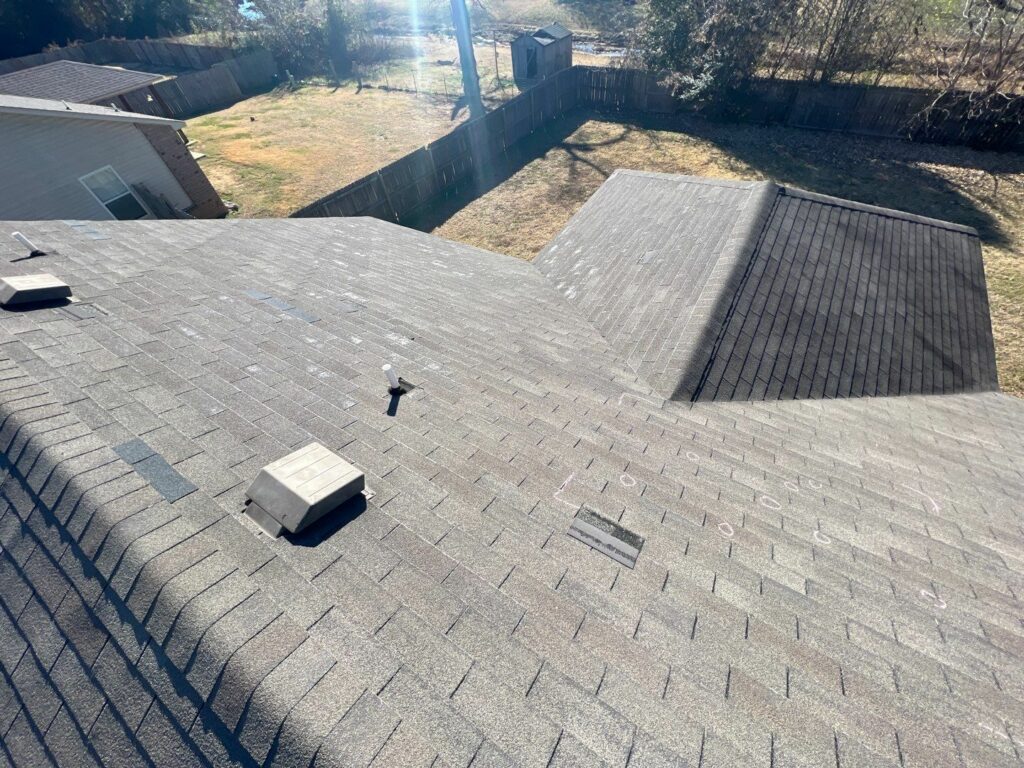
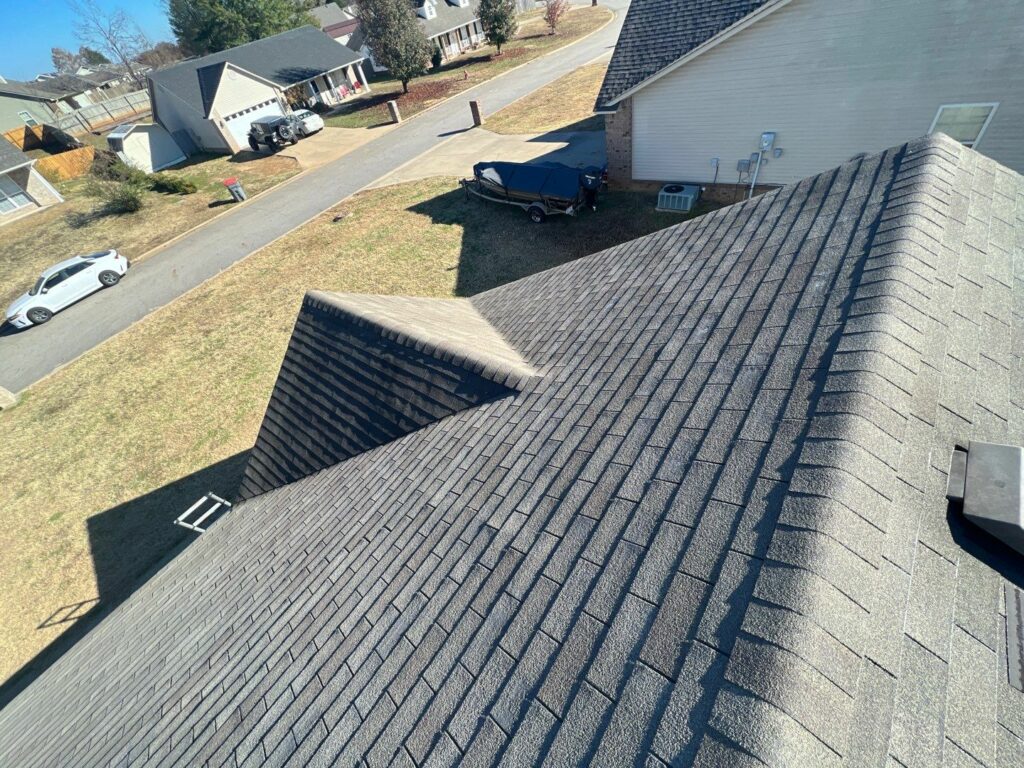
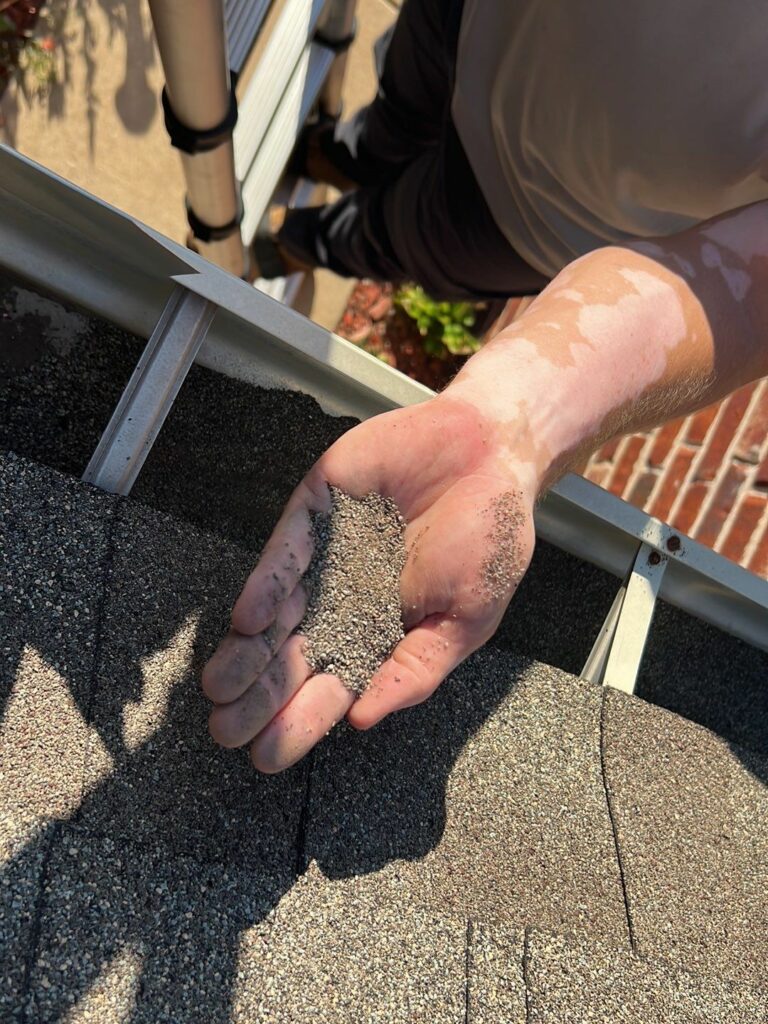
The first step in any home repair is diagnosis. As a homeowner, it is crucial to locate the exact spot of the roof leak before proceeding with repairs. In some cases, this can be easily done by inspecting your home’s exterior. If you have experienced a severe rainstorm that has caused damage to your roof shingles or panels, a simple walk around your home may reveal weak points in your roof.
Common areas prone to roof leaks include roof valleys and sections where debris tends to accumulate. Flashing along the roof’s apex, under gutters, and around dormer windows are also susceptible to leakage. Gutter cleaning and maintenance is essential for the longevity of your houses roofing system
Sometimes, water damage can be observed from the inside of your home. Water spots on your ceiling, dripping sounds, wet spots around your fireplace, and other similar signs are indications of a roof leak. If you have a rough idea of the leak’s location, you might spot wet spots in your roof decking from the attic. In some cases, you may need to remove insulation to access the damaged area, but most holes should be easy to identify.
How to Temporarily Patch a Roof Leak
Patching a roof leak as a “make shift” repair can be a straightforward process if you have the right tools and materials. Below is one of the methods you can use to address a leak in your roof:
DIY Roof Repair for a Small Leak
Roofing cement is a widely used temporary solution for fixing leaks. The process is relatively simple and requires minimal tools. Here’s what you’ll need and the steps to follow:
Materials Needed:
- Roofing cement
- Spatula
- Flashlight
Instructions:
- Prepare the Roofing Cement: Before heading into the attic, ensure your roofing cement is ready for application.
- Locate the Leak: Use the flashlight to find the exact spot where the leak is occurring.
- Apply the Cement: With the spatula, apply the roofing cement over the leak. Make sure to cover the area completely and evenly. Using a sideways motion with the spatula can help spread the cement more effectively.
- Layer the Cement: Depending on the size of the leak, several layers of roofing cement may be necessary. Allow each layer to dry before applying the next.
Note: This method is intended for temporary fixes and may only be suitable ahead of calling out a roofing contractor. Regular monitoring and maintenance are recommended.
Fixing Leaks in the Vent Boots
Leaks often originate from the flashing around plumbing vent pipes. The rubber boot encasing the pipe is prone to developing cracks or tears. If the aluminum flashing itself is intact, you might only need to replace the boot.
To replace the boot:
- Remove the old boot by sliding it off the vent pipe.
To replace the flashing:
- Determine the proper diameter for the new boot. Consider looking for flashing units with adjustable boots.
- Use a flat bar to gently pry up the front edge of the old flashing. Then, remove any nails and lift off the old base and boot.
- Apply a generous amount of roof sealant to the underside of the new flashing unit.
- Carefully slide the new unit over the pipe and tuck it under the shingle course just above the pipe.
- Replace any nails, ensuring all exposed heads are sealed. Alternatively, use nails with neoprene washers for better sealing.
By following these steps, you can effectively fix leaks in the vent boots and prevent water damage.
Repairing a Leaky Roof: Step-by-Step Guide
Different types of roofs require slightly different repair techniques and processes. Proper handling of roofing repairs when leaks are initially detected is crucial to prevent further damage. Here, we provide a comprehensive step-by-step guide for repairing different types of roofs.
1. Asphalt Shingles:
 Repairing asphalt or architectural shingles involves more than just applying silicone caulk, which is generally not recommended. In most cases, you will need to remove the entire row of defective shingles and replace them with new ones using roofing nails and caulk. Below is a concise breakdown of the process:
a. Use a pry bar to break the seal between the defective shingle(s) and the surrounding ones. Remove any old caulk that has been holding the shingles together while prying up the roofing nails that secure them.
b. Be cautious not to damage the row of shingles above while removing the nails.
c. Make sure all nails are removed from the roof decking before taking out the defective shingles.
d. Inspect the roof decking and underlayment for any damage. If there is any rot due to long-term water damage, it will need to be replaced.
e. Install the new shingles, ensuring they are aligned precisely with the existing rows and fully tucked under the row above.
f. Secure the shingles with roofing nails, spaced evenly apart and about an inch below the edge of the row above.
g. Apply caulk along any unsealed lines above and below the new row of shingles to create a watertight seal.
2. Metal Roofing:
Repairing metal roofing is more involved than repairing asphalt shingles but can still be completed by many homeowners. Here is a step-by-step guide for fixing a small leak:
a. Clean the damaged area with a mild non-toxic household cleaner.
b. Mark a squared-off line around the affected area and replicate it on a piece of extra metal sheeting.
c. Scuff up the damaged area within the pencil line using steel wool or an abrasive substance to improve sealant adherence.
d. Cut a patch from the loose replacement panel using aviation snips.
e. Apply sealant up to the pencil line on the damaged area using a putty knife.
f. Place the patch precisely within the pencil lines, allowing the sealant to ooze out from the sides.
g. Secure the patch to the existing roof panels using self-tapping screws, making sure not to penetrate the roof decking. Space the screws about an inch from the edge of the patch, roughly four inches apart.
h. Use a putty knife to ensure a uniform seal around the edges of the patch. Remove any excess sealant and follow manufacturer instructions for complete curing. If necessary, paint the patch to match the existing roofing.
3. TPO or Roofing Membrane Patches:
Although roofing membranes are more commonly used on commercial or flat roofs, patching a TPO roof is relatively simple. Here’s what you need to do:
a. Clean the area to be patched with weathered membrane cleaner, exercising caution due to flammability and toxic fumes.
b. Cut a patch slightly larger than the tear, ensuring that it extends at least two inches beyond the damaged area on all sides. Round the edges of the patch for better adherence.
c. Adhere the patch to the affected area using a hot air welder. Ensure a 1.5-inch seal around all sides for larger patches or attempt to create a total seal for smaller patches.
d. Use a roller to press the roofing layers together while applying heat.
e. Let the membrane cool and check the edges for a complete seal.
f. Apply cut-edge sealant around the patch edges and let it dry.
Repairing vs. Replacing a Roof
In most cases, repairs are sufficient without necessitating a full roof replacement. Understanding the life expectancies of different roofing types can help make an informed decision: Also read our full write up around the choices between asphalt shingles and metal roofs
- – Asphalt shingles: 20 years
- – Copper: 60-70 years
- – Slate: 60-100 years
- – EPDM Rubber: 12-25 years
- – Metal (average of all types): 40-70 years
- – TPO: 10-20 years
- – Wood: 25-30 years
Fastest Way to Seal a Roof Leak
The most commonly used method to fix roof leaks is applying roofing cement or silicone caulk. A caulk gun is typically used for repairs, whether it’s a small leak on a shingle roof or fixing flashing around skylights or vent boots.
Tips for Fixing a Leaking Roof
Consider the following factors before starting any roof repair:
1. Wait for warm, dry weather: Repairing a roof leak on a rainy day could cause further damage to your roof sheathing or substrate. Working in warmer weather makes it easier to manipulate membrane and shingle roofs.
2. Review safety regulations: Falling injuries are a significant risk for construction workers. Although primarily tailored to professionals, reviewing safety regulations for construction workers can help prevent accidents during your roofing project.
3. Check your roof warranty: Most roofing materials come with warranties. Keep copies of any manufacturer and labor warranties to understand your financial responsibilities in case of leaks.
Cost to Repair a Roof Leak
 Hiring a professional roofing contractor for minor repairs typically costs between $175 and $450. Labor costs range from $45 to $80 per hour. Additional expenses include supplies like flashing, shingles, fasteners, nails, and sealants. Factors that influence costs when hiring a residential roofing contractor include the size of the damaged area, roof pitch, roofing material, and secondary roof characteristics.
Roofing Company or DIY?
Unless you have a single-story home with a low-pitched roof, it is advisable to hire a local roofing contractor for roof repairs. Consulting professionals before attempting a DIY repair can reveal potential problems that you may have overlooked. Although the described patches are suitable for DIY work, caution and attention to detail are crucial to avoid long-term consequences for your roof and home’s well-being.
Michael Overzat
Michael Overzat resides in Fort Smith, Arkansas with his wife and three kids. He enjoys to hike, skateboard, write, and get involved in charity organizations. He was originally born in Maryland. He has worked within the roofing industry for 5 years and is very active within the industry by attending conferences, masterminds, etc. His vision is to create a multi-state organization that has a customer centric model. He's worked for some of the biggest names in the industry and hopes to create a more people focused model for the roof replacement process.