
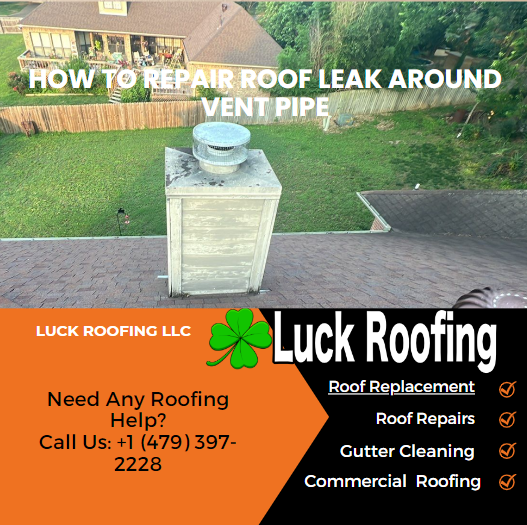
 Roof leaks can be a homeowner’s worst nightmare, causing damage to both the structure and the contents within. One particularly troublesome area prone to leaks is around vent pipes. If left unaddressed, these leaks can lead to costly repairs and potential health hazards. But fear not, for there is a solution that is both effective and affordable. In this discussion, we will explore the steps and precautions involved in sorting out a roof leak repair . By the end, you will have the knowledge and confidence to tackle this issue head-on, ensuring the protection and longevity of your roof. So, let’s dive into this essential repair process and discover how to safeguard your home from the perils of water infiltration.
Key Takeaways
- Assess the leak by inspecting the surrounding area for signs of water damage and conducting a water test.
- Gather the necessary tools such as a pocket knife, caulking gun, lap-seal caulk, and replacement rubber gasket.
- Prepare the roof by clearing debris, inspecting for damage, and creating a clean work surface for repair.
- Repair the leak by removing the old rubber seal, cleaning and inspecting the vent pipe, installing a new rain collar, securing it in place, and testing for leaks.
Repairing a roof leak entails various factors that influence the overall cost. These include labor, time, the extent of damage, roofing material type, and complexity of the roof design. Additionally, the location and timing of the repair, along with permit and inspection requirements, further impact the cost to fix a roof leak.
Assessing the Leak
 When faced with a roof leak around a vent pipe, the initial step is to carefully assess the extent of the problem by inspecting the surrounding area for any signs of water damage or moisture. It is crucial to make sure that the leak is indeed coming from the vent pipe and not from any other source. Check for cracks, gaps, or deterioration in the caulking or rubber gasket around the vent pipe that may be causing the leak. Additionally, look for water stains or discoloration on the ceiling or attic directly below the vent pipe to pinpoint the source of the leak. Assess the condition of the vent pipe and flashing to determine if there are any visible signs of wear, damage, or corrosion that could be contributing to the leak. It is also important to consider conducting a water test by spraying the area around the vent pipe with a hose while someone checks for any new signs of water entering the roof which may be happening where there is leaking around roof shingle . Remember to replace the rubber gasket every 10 years to prevent future leaks. It is always suggested to contact a top Roof repair company like us here at Luck Roofing for the best advice to fixing your issue
Gathering the Necessary Tools
To gather the necessary tools for repairing a roof leak around a vent pipe, it is essential to have a pocket knife and a caulk gun ready, along with lap-seal caulk and a replacement rubber gasket on hand. These tools will aid in efficiently completing the repair and ensuring a proper seal. Here are the three items you will need:
- Pocket knife: This tool is necessary for scraping rough edges and sharp points from the vent pipe, creating a smooth surface for the caulk and gasket to adhere to.
- Caulk gun: The caulk gun allows for precise application of the lap-seal caulk around the vent pipe, sealing any gaps or cracks that may be causing the leak.
- Lap-seal caulk and replacement rubber gasket: These materials are crucial for sealing the seam around the vent pipe and providing a new, watertight seal. Make sure to have enough caulk and a replacement gasket on hand to complete the repair successfully.
Preparing the Roof
Before beginning the repair process, it is essential to properly prepare the roof by clearing the area around the vent pipe of any debris or obstructions and inspecting the roof for any signs of damage or deterioration that may require attention. Clearing the area around the vent pipe will create a clean work surface and ensure that the repair can be applied effectively. It is important to remove any debris or obstructions that may impede the repair process. Additionally, inspecting the roof for any signs of damage or deterioration is crucial to identify any underlying issues that may need to be addressed before applying the repair. This will help ensure a successful and long-lasting repair.
Removing the Old Rubber Seal
To begin the process of removing the old rubber seal, ensure that any rough edges and sharp points on the upper end of the plastic vent pipe are carefully trimmed away using a pocket knife. This step is crucial to prevent any damage to the new rubber seal during installation. Once the edges are smooth, proceed with the following steps:
- Cut away the old caulk around the vent pipe, ensuring it is clean and smooth.
- Apply a thick bead of lap-seal caulk around the seam between the vent pipe and the old rubber gasket, followed by a second bead just below the first one.
- Slide the replacement rubber gasket over the pipe and press it tightly onto the flange.
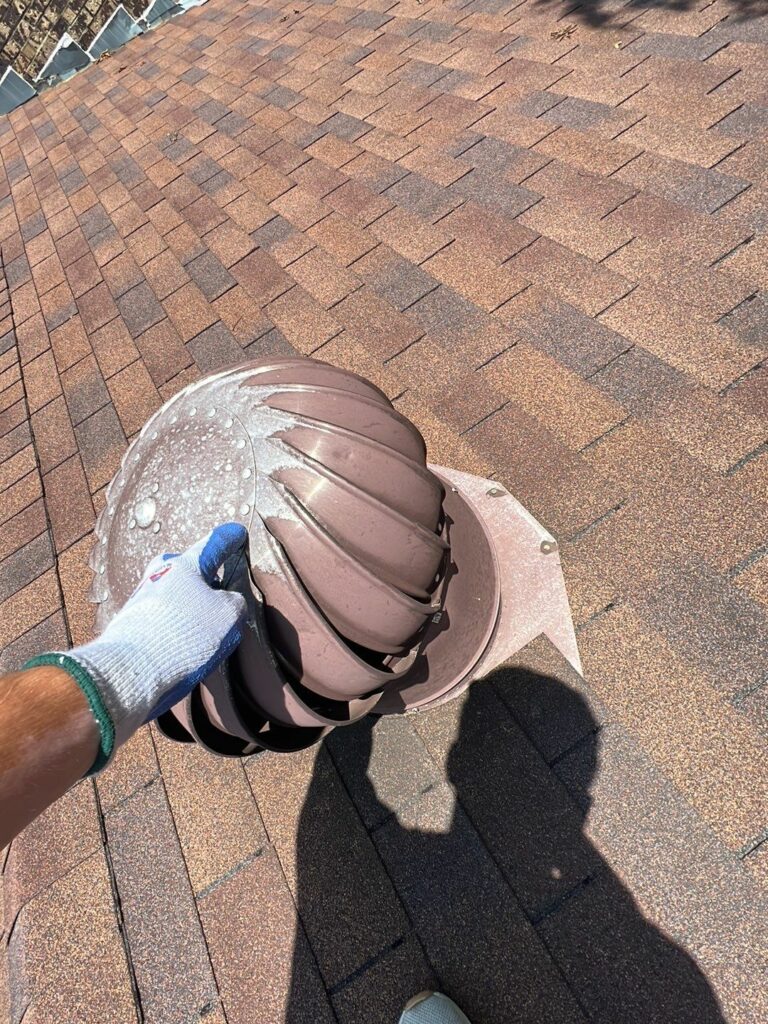
Cleaning and Inspecting the Vent Pipe
![]()
![]()
![]()
![]()
 Regularly maintaining and examining the vent pipe is essential to ensure its optimal performance and prevent potential leaks. To clean the vent pipe, start by using a pocket knife to scrape away any rough edges and sharp points from the upper end of the plastic vent pipe. Next, carefully cut away old caulk from around the vent pipe and ensure that the pipe is clean and smooth. Once the pipe is clean, apply a thick bead of lap-seal caulk around the seam between the vent pipe and the old rubber gasket. Follow this with a second bead just below the first. Finally, slide a replacement rubber gasket over the pipe and press it down tight to the flange to ensure a secure seal. Regularly inspecting and cleaning the vent pipe will help prevent future leaks and ensure its proper functioning.
Installing the New Rain Collar
After properly cleaning and inspecting the vent pipe, the next step in repairing a roof leak is to install the new rain collar. This crucial step ensures maximum protection against water leaks and provides a tight seal around the pipe. Here are three key points to keep in mind when installing the rain collar:
- Slide the rain collar over the pipe, using WD-40 if needed for easier installation.
- Check that the rubber seal on the rain collar creates a secure seal against the pipe.
- Ensure that the rain collar completely covers the old gasket, offering comprehensive coverage against water leaks.
Securing the Rain Collar in Place
To ensure a secure and watertight seal, it is important to properly secure the rain collar in place over the vent pipe. Follow these steps to secure the rain collar effectively:
| Steps | Description |
|---|---|
| Slide the rain collar over the vent pipe | Ensure that the rain collar fits snugly over the vent pipe, covering the old gasket completely. |
| Use WD-40 if needed | If the installation is difficult, use WD-40 to lubricate the pipe and ease the collar onto it. |
| Ensure a tight and secure seal | Check that the rubber seal on the rain collar creates a tight and secure seal against the pipe. |
| Adjust the rain collar as necessary | Make adjustments to the rain collar to ensure it fits the specific size of the vent pipe. |
| Confirm complete coverage of the old gasket | Verify that the rain collar completely covers the old gasket, providing maximum protection. |
Following these steps will help ensure that the rain collar is securely in place, preventing any water leaks around the vent pipe.
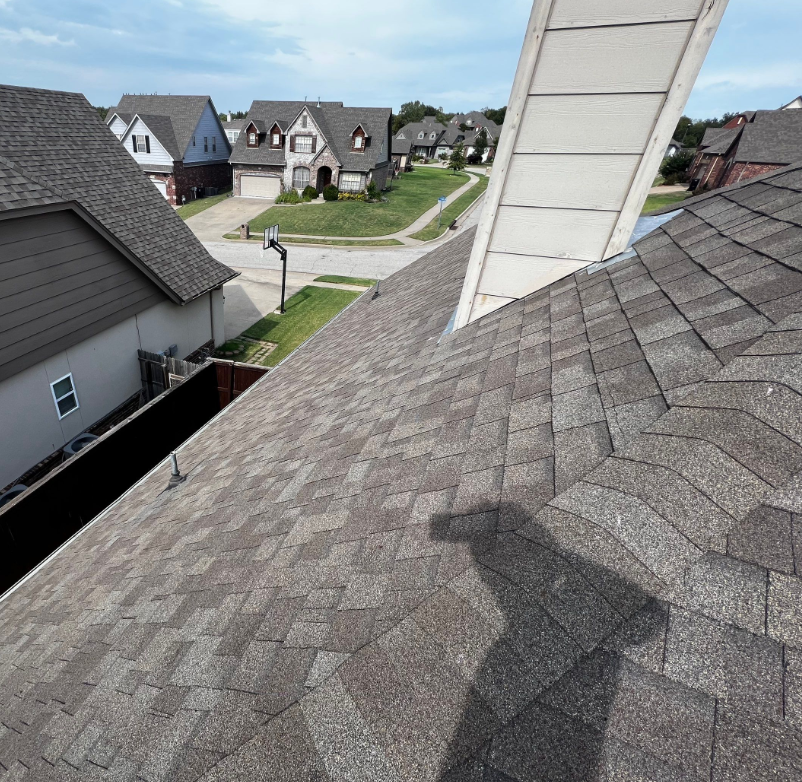
Testing for Leaks
![]() When assessing the effectiveness of the repair, it is important to conduct thorough testing to check for any remaining leaks around the vent pipe. This step is crucial to ensure that the problem has been completely resolved and that no further water damage will occur. Here are three key testing methods to consider:
When assessing the effectiveness of the repair, it is important to conduct thorough testing to check for any remaining leaks around the vent pipe. This step is crucial to ensure that the problem has been completely resolved and that no further water damage will occur. Here are three key testing methods to consider:
- Visual inspection: Carefully examine the repaired area for any signs of moisture or water stains. Look for any discoloration or dampness around the vent pipe to determine if there are any remaining leaks.
- Water hose test: Use a water hose to simulate rainfall and direct the water onto the repaired area. Observe whether any water seeps through or if there are any signs of leakage. This test can help identify any weak points in the repair.
- Interior examination: Check the area inside the building directly below the vent pipe for any signs of water infiltration. Look for water stains, dampness, or any other indications of a leak. This will help confirm if the repair has effectively resolved the issue.
Maintaining and Preventing Future Leaks
Regular inspection and maintenance of the vent pipe and flashing is essential to prevent future leaks and ensure the longevity of your roof. Start by regularly inspecting the vent pipe and flashing for any signs of wear, cracks, or damage. If any issues are found, they should be addressed promptly to prevent further damage. Additionally, apply a fresh layer of lap-seal caulk around the seam between the vent pipe and rubber gasket every 2-3 years to ensure a strong seal. This will help to maintain the integrity of the seal and prevent water from entering the roof. Keep nearby tree branches trimmed to prevent them from rubbing against the vent pipe and causing damage to the flashing. It is also important to regularly check the attic for any signs of water damage or leaks near the vent pipe, especially after heavy rain or storms. Finally, consider installing a protective cover over the vent pipe to prevent debris and leaves from clogging the opening and causing water backup. By following these maintenance steps, you can prevent future leaks and protect your roof.
Final Thoughts
In conclusion, by utilizing OD’s rain collars and following proper maintenance procedures, roof leaks around vent pipes can be effectively repaired and future water damage can be prevented. The cost-effective solution of installing rain collars provides a new rubber seal that effectively stops water leaks and offers maximum protection. Prioritizing roof safety precautions is crucial before attempting any repairs, and regular inspection and replacement of the rubber seal every 10 years is recommended to ensure continued leak prevention.
Michael Overzat
Michael Overzat resides in Fort Smith, Arkansas with his wife and three kids. He enjoys to hike, skateboard, write, and get involved in charity organizations. He was originally born in Maryland. He has worked within the roofing industry for 5 years and is very active within the industry by attending conferences, masterminds, etc. His vision is to create a multi-state organization that has a customer centric model. He's worked for some of the biggest names in the industry and hopes to create a more people focused model for the roof replacement process.