
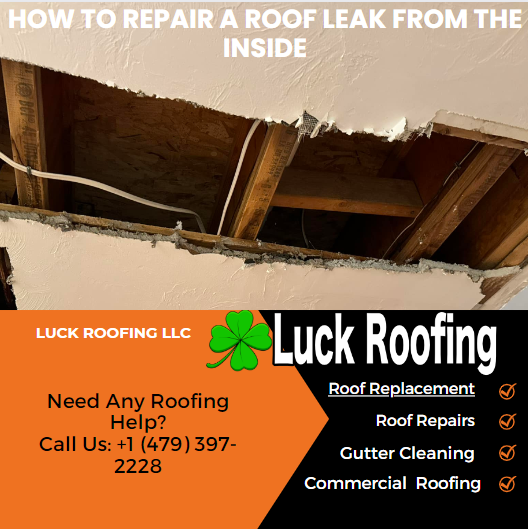
 Roof repairs due to water leaks can be a nuisance, causing damage to your property and disrupting your daily life. While many people immediately think of repairing roof leaks from the outside, it is also possible to tackle the issue from the inside. In this article, we will explore the steps and techniques involved in repairing a roof leak from the inside, providing you with the knowledge and tools to effectively address this problem. Whether you have already identified the leak or are unsure of its location, this discussion will guide you through the process, offering valuable insights into sealing the leak and preventing future damage. So, if you’re eager to find a solution that will save you time, money, and unnecessary stress, keep reading to discover the secrets of repairing a roof leak from the inside.
Key Takeaways
- Conduct a thorough inspection of the roof from within the attic to locate the source of the leak. It can come from anywhere so inspect for obvious signs of water leak around a vent pipe for example
- Use chalk or a marker to mark suspected leak areas and pay attention to water stains, mold, or mildew along the water path.
- Ensure the damaged area is completely dry before sealing the leak.
- Regularly monitor the repaired area for new leaks or water damage, as well as any signs of mold growth, musty odors, or discolored spots.
Repairing a roof leak encompasses various factors that influence its overall cost. Beyond the nature of the repair itself, considerations such as labor, time, the severity and size of the damage, the type of roofing material, and the complexity of the roof’s design all factor into the expenses. Additionally, factors like the repair location, timing, and the need for permits and inspections can impact the final cost. Hence, determining the cost to repair a roof leak requires a comprehensive assessment of these variables.
Locating the Roof Leak
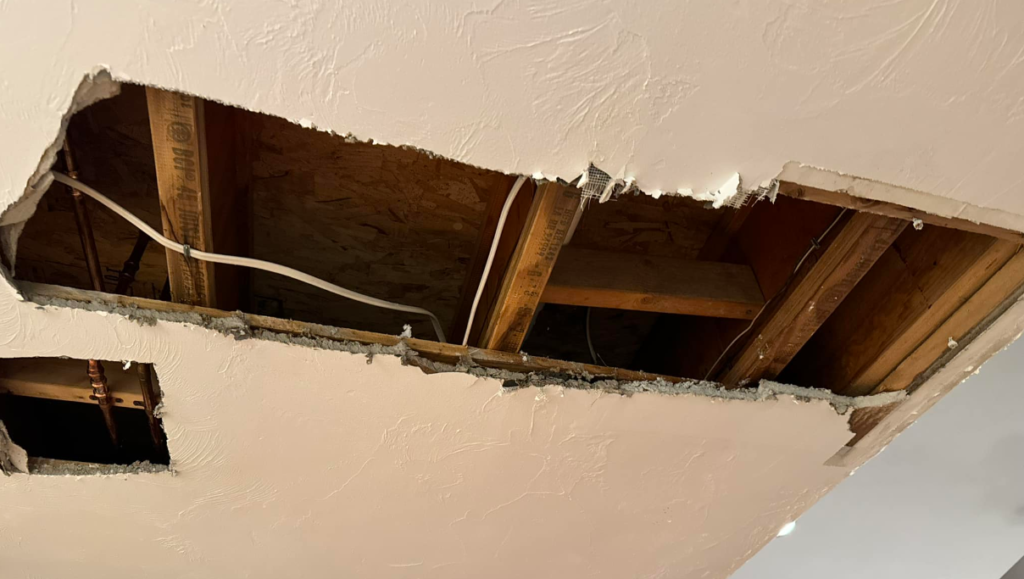 To successfully locate a roof leak, it is essential to conduct a thorough inspection of the roof from within the attic, carefully tracing the path of water and utilizing appropriate tools and techniques. Inspect the roof from inside the attic by removing insulation and standing water to follow the water’s path. Use flashlights to locate the source of the leak. If unable to find the leak, consider contacting a professional, as leaks may not always be directly above the visible water damage. To make it easier to identify problematic areas during permanent repairs, use chalk to mark them. Follow the path of water on the inside of the roof to locate potential entry points. Before patching the leak, ensure the roof is dry. Seal the leak using roofing tar or bitumen paint. If necessary, divert water or make a temporary patch before sealing the leak. If all else fails, consider using plastic roof covering to temporarily protect the roof.
Inspecting the Water Path
 To effectively locate a roof leak, it is crucial to thoroughly inspect the water path from inside the attic, employing a flashlight to pinpoint the source and tracing the path with precision. Here are three important steps to inspecting the water path:
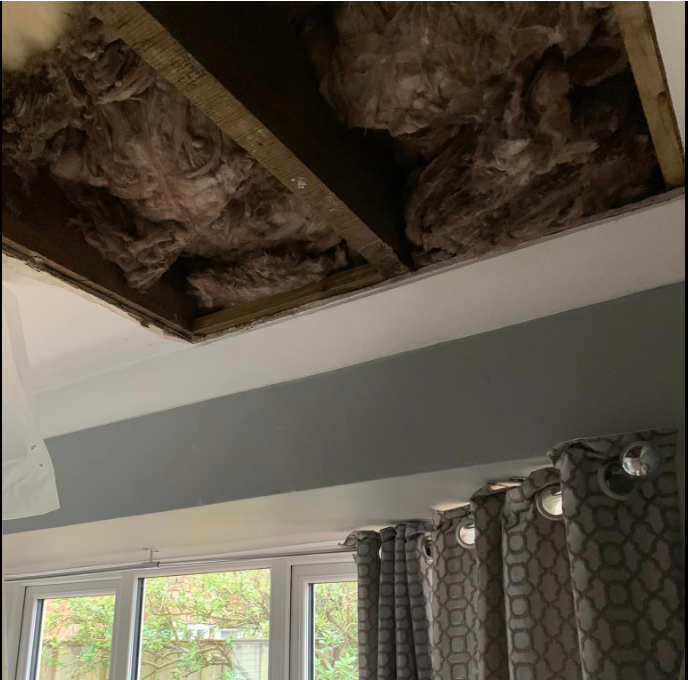
- Remove any insulation or standing water in the attic to get a clear view of the roof’s underside. This will allow you to trace the water path and identify the problematic areas more easily.
- Use chalk or a marker to mark the areas where you suspect the leak is originating from. This will help you during the repair process by providing clear indicators of the problematic spots.
- Pay close attention to any signs of water stains, mold, or mildew along the water path. These can be valuable clues that will aid in finding the leak and determining the extent of the damage.
Sealing the Leak
To effectively seal the leak, begin by ensuring that the damaged area is completely dry. This step is crucial as attempting to seal a wet or damp area will result in an ineffective fix. Use rubber gloves and a flashlight to inspect the area and make sure it’s dry. If there is any water present, consider diverting it by sticking a nail in the hole or placing a large bucket underneath to catch the water temporarily. Once the area is dry, it’s time to seal the leak. Use roof patch (tar) and a scraper to apply the patch to the leaking area. Spread caulking with a finger to ensure complete coverage. Take your time and make sure the seal is tight to prevent any further water damage.
Using Tar or Roof Patching
After ensuring that the damaged area is completely dry, the next step in repairing a roof leak from the inside involves using tar or roof patching to seal the leak effectively. Here are three steps to follow when using tar or roof patching to fix a leaking roof from the inside:
- Apply roofing tar or roof patching to the leaking hole using a putty knife. This will provide a temporary fix until a more permanent solution can be implemented.
- Make sure the roof is dry before applying the tar or patching to the leaking area. Moisture can prevent proper adhesion and compromise the effectiveness of the repair.
- Spread the tar or patching around the edges of the leaking hole to provide stability and ensure a tight seal.
Using roofing tar or roof patching can be a quick and cost-effective way to address a roof leak from the inside. However, for a long-term solution or if the repair seems beyond your skill level, it is advisable to seek professional help or consider a roof replacement.
Monitoring for Leaks and Mold
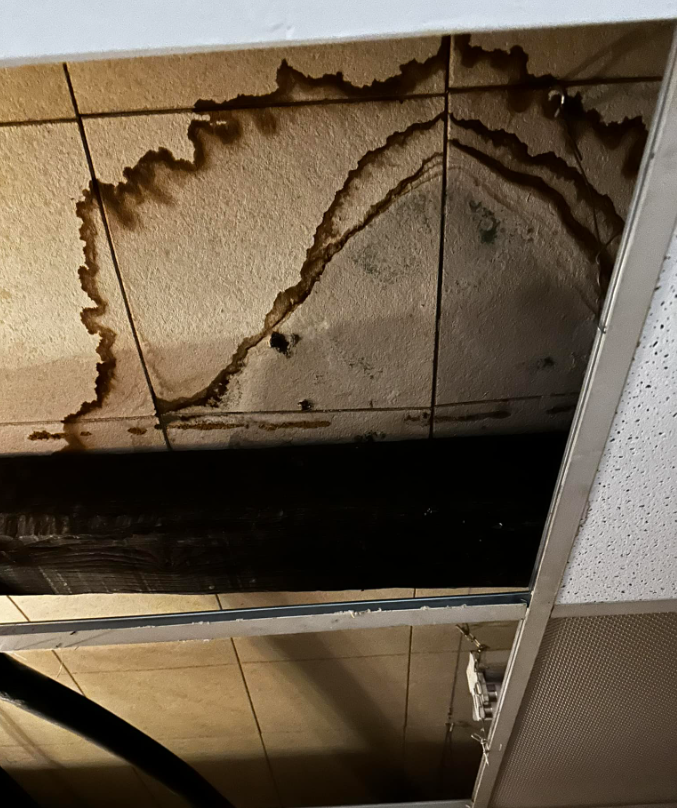 Regularly checking the repaired area for any signs of new leaks or water damage is essential in monitoring for leaks and mold. After you fix a roof leak from the inside, it’s important to keep an eye on the area to ensure that the patch is holding up and there are no new leaks. You should also be vigilant for any mold growth, musty odors, or discolored spots on the walls or ceiling near the repaired area. If you find any new leaks or mold, it’s crucial to address them promptly to prevent further damage and potential health hazards. Consider consulting a professional if you’re unsure about the extent of any new leaks or mold growth. Additionally, implementing preventive measures such as regular roof inspections and maintenance can help reduce the risk of future leaks and mold growth in the area.
Maintaining the Exterior Roof
Proper maintenance of the exterior roof is crucial for ensuring its long-term integrity and preventing potential damage. To maintain the exterior roof, follow these essential steps:
- Regularly inspect the roof: Conduct routine inspections to identify any signs of damage, such as missing or damaged shingles, and address them promptly. This will help prevent leaks and further deterioration.
- Clean gutters and downspouts: Clearing debris from gutters and downspouts is vital to prevent water buildup. Proper drainage ensures that water flows away from the roof, reducing the risk of leaks and water damage.
- Trim overhanging tree branches: Trim branches that hang over the roof to minimize the potential for damage during storms. Falling debris can cause significant harm to the roof, leading to leaks and other issues.
Performing a Dye Test
To further assess the source of a potential roof leak, performing a dye test can provide valuable insights into areas of concern. This test is especially useful when you suspect a leaky roof but cannot locate the exact source of the leak. To perform a dye test, you will need a dye tablet or liquid designed for toilet leak detection. Drop the dye into the toilet tank and wait for it to dissolve. If the color from the toilet tank water seeps into the bowl without flushing, it indicates a leak. This test can help identify if the leak is originating from the toilet or another area. While performing a dye test is a temporary solution, it can guide you in sealing the leak or prompt you to seek professional assistance if you are unable to resolve the issue on your own.
Checking Water-Based Appliances
Water-based appliances should be regularly inspected for leaks or signs of water damage. This is essential to prevent any potential water-related issues and ensure the proper functioning of the appliances. Here are three important steps to follow when checking water-based appliances:
- Clean and maintain appliances: It is crucial to clean and maintain appliances such as washing machines, dishwashers, and water heaters regularly. This helps prevent leaks and prolongs their lifespan. Make sure to check hoses, connections, and seals for any signs of wear, cracking, or deterioration.
- Look for signs of leaks: During operation, keep an eye out for any water pooling around the appliances or unusual sounds, which may indicate a leak. If you notice any of these signs, it is important to address the issue promptly to prevent further damage.
- Consider professional maintenance: To ensure proper functioning and prevent leaks, consider scheduling professional maintenance services for your water-based appliances. This will help identify any potential issues and address them before they become larger problems.
Seeking Professional Help
When facing persistent leaks, extensive roof damage, or the need for a long-term solution, it is advisable to seek professional assistance from a reputable roofing service like us here at Luck Roofing. While it may be tempting to try and repair a roof leak from the inside on your own, certain situations call for the expertise of a professional roofer. A professional roofer has the necessary knowledge, tools, and experience to accurately identify the source of the leak and provide a lasting solution. They can conduct a thorough inspection, ensuring that all areas of concern are addressed. Additionally, professional roofers work in compliance with industry standards and regulations, using advanced techniques and quality materials. By seeking professional help, you can have peace of mind knowing that your roof leak repair is being handled by experts.
Final Thoughts
In conclusion, repairing a roof leak from the inside can be a manageable task with the right knowledge and tools. By following the steps outlined in this article or seeking help from a professional roofer, individuals can effectively locate and seal the leak, preventing further damage to their property. Regular monitoring, maintenance, and inspections are essential to ensure the long-term integrity of the roof and the safety of occupants.
Michael Overzat
Michael Overzat resides in Fort Smith, Arkansas with his wife and three kids. He enjoys to hike, skateboard, write, and get involved in charity organizations. He was originally born in Maryland. He has worked within the roofing industry for 5 years and is very active within the industry by attending conferences, masterminds, etc. His vision is to create a multi-state organization that has a customer centric model. He's worked for some of the biggest names in the industry and hopes to create a more people focused model for the roof replacement process.